Issue 160, for the week of 12/4/2005 .

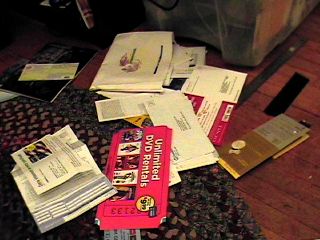
Boring Preface: There’s this idea of “junk chic” floating around that I’m vaguely attracted to. Most of it, however, seems to be concerned with buying old crap at antiques stores and putting a new coat of paint on it. What I’m interested in is more finding uses for the reasonably well-made things we’re expected to throw away. Somehow I’m not sure if making things yourself will ever come back into the mainstream; there’s just too much money to be made selling us everything. Maybe that’s the point. Free software, free instructions, free knowledge… There’s a growing, silent acknowledgment that there needs to be a non-commercial sphere to life, distinct from religion and opposition, and this nebulous idea of “family” our politicians keep pounding us with. Not everything is about money. The irony is that the people who sent me the raw material for this project did so in the hope of making money from me. And they can screw.
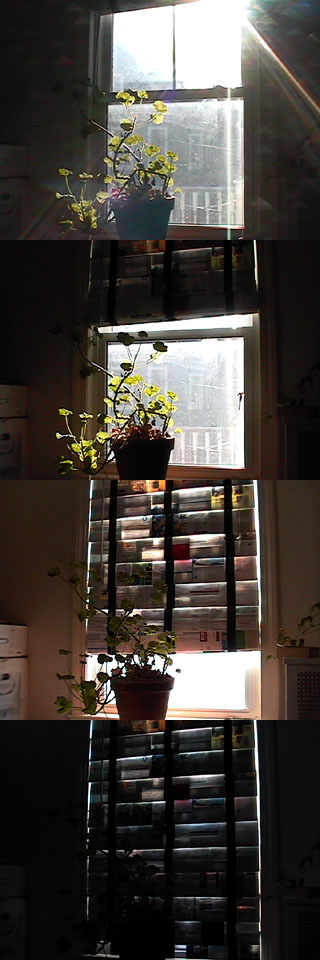
Theory: By affixing strips of junk mail to an existing set of venetian blinds, one can drastically reduce the amount of light allowed through without losing the ability to raise and lower the blinds.
Get: In my case, about three months’ worth of junk mail, but your mileage will vary. Your trusty roll of duct tape (color to suit). Two rolls of scotch tape. A ruler. A spool of uninsulated wire. A pair of needle-nosed pliers. A thumbtack. Space to work.
Step i: Measure the width of your window. The real width. Don’t leave a full inch on either side like those goddamn blinds we’re covering over. Leave maybe a couple of millimeters. (Dark! We must have dark!)
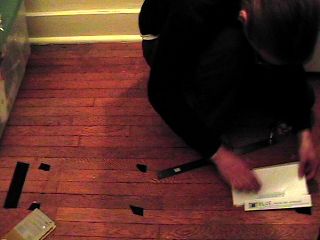
Step ii: Tape off on your workspace a piece of real estate (in my case, floor) measuring the same width as your window and six inches tall. (Or three floorboards, if they’re each two inches tall.) This will serve as a template for building the sections.
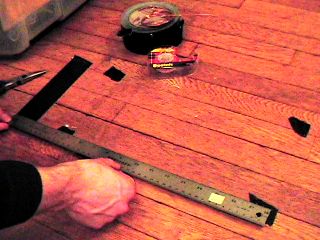 Step iii: Next we’ll need to figure out where to affix the hangers that will connect the junk mail blinds to the existing ones. We will eventually be bending wire into a set of three connector pieces, one for each of the three strings running down through the original blinds. For now, grab your ruler and measure the distance between the edge of the window and the nearest of these strings. On your template, go in the measured distance from either side and make tape marks. Also, find the center of the template and mark it with tape as well. I think we’re ready to start building a section.
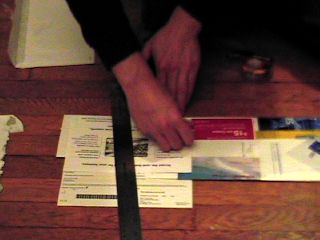
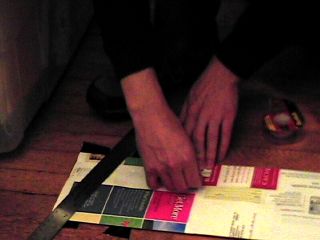
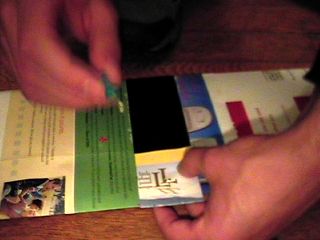
 Step 1: Find a nice piece of junk mail (you’ll start talking like this) — maybe a credit card letter with your name misspelled, or a useless “newsletter” from your predatory health insurance company. Lane Bryant sure likes sending me fliers now that they’ve decided I’m female. Whatever you have handy.
 Step 2: Fold the piece of junk mail upward at the bottom (I recommend using an existing fold) and align it with the bottom left corner of your workspace.
 Step 3: Tape the folded portion down with scotch tape.
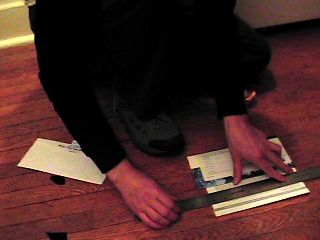 Step 4: Fold the top of your sheet of junk mail down so that it fits within your six-inch template. Chances are it doesn’t have another crease already made at the six inch mark, so use your ruler to make the fold yourself.
Step 5: Tape that bad boy down.
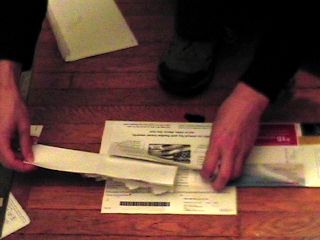
 Step 6: Grab another piece of junk mail. Place it under the previous piece so that they’re overlapping by an inch or two.
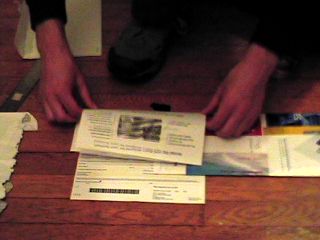 Step 7: Fold the bottom up so that it’s sort of “eating” the previous piece.
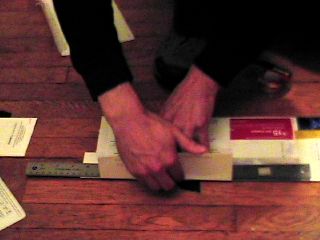
 Step 8: Tape the folded part to the old piece and to itself. Be sure that the corners are taped thoroughly.
 Annoying Tip: Kinda thin? Not sure it’s going to block enough light? I’m sure you’ve got a lot of little pieces of junk mail floating around. Why not tape one of them inside the fold before taping it down? Envelopes work great for this — they’re two-ply. You can even stick smaller annoying things like fake credit cards inside the envelopes before taping them down.
 Step 9: Grab your ruler again and fold the top down.
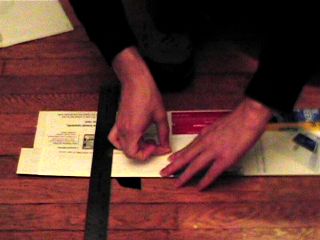 Step 10: Tape that muthah down, and to the previous piece.
 Step 11: Repeat steps 6 through 10 until the section fills your template. You now have a strip of junk mail six inches tall, and as wide as your window.
 Step 12: Enjoy a good pull of Endurance Ale. You’ve earned it! (It’s called Endurance for a reason, but it grows on you.)
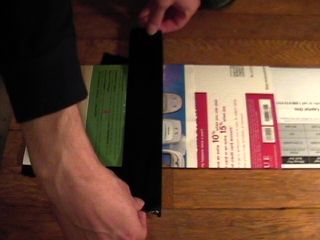
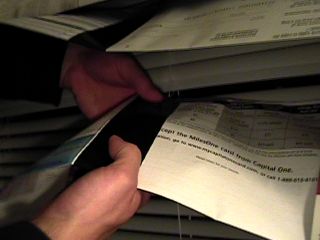
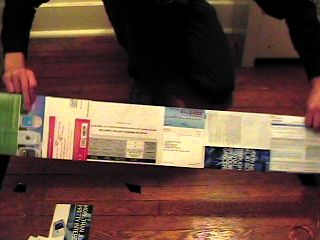 Step 13: Flip the section over. You’ll notice that all the taping has been done on the reverse, keeping it out of sight. Just because we’re making things out of junk mail doesn’t mean we can’t pay attention to aesthetics.
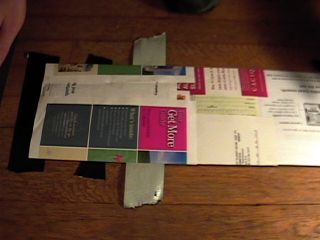
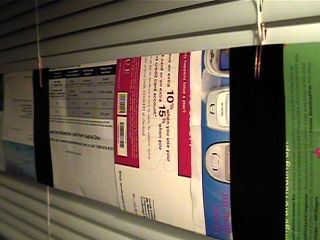
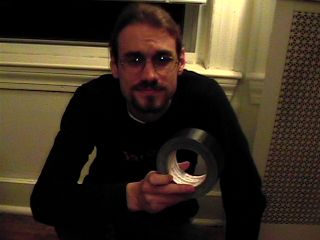 Step 14: Grab your duct tape. We’ll be using the duct tape to add strength where the new blinds connect to the old ones. It’ll also impose some kind of order on the appearance of the blinds, which is probably just as well.
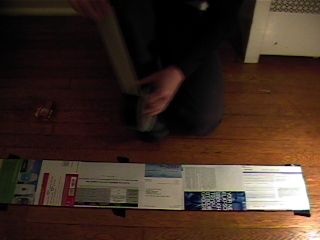 Step 15: Rip off a strip between half again and twice the height of the section. That’ll be about ten inches, if you want to measure it.
 Step 16: Use the marks you made in step iii to stick the tape down where it will be needed to match up with the string.
 Step 17: Flip the section back over.
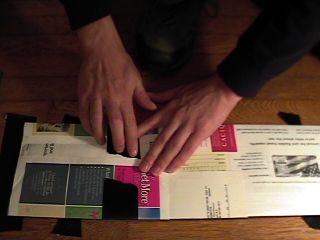 Step 18: Fold the ends of the strip of duct tape over and stick them down. Remember, we don’t care too much what this side looks like.
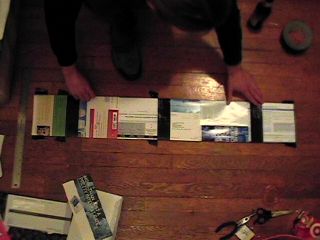 Step 19: Repeat steps 13 through 18, placing a strip of duct tape for each of the three marks we made in step iii.
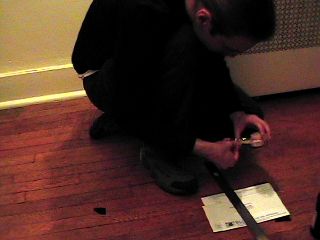
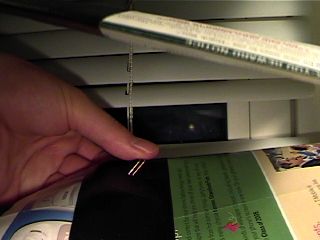
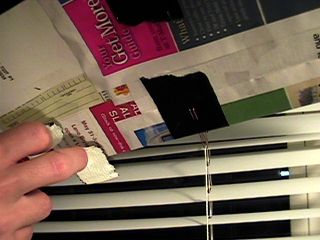
 Step 20: Grab your thumbtack. On each of the strips of duct tape, make two holes about a quarter of an inch apart and one inch from the top of the section. I recommend cutting out a template, to save you from having to measure the position of the holes every time. Make sure the holes go all the way through, and are wide enough to get a piece of wire through. Don’t stab yourself.
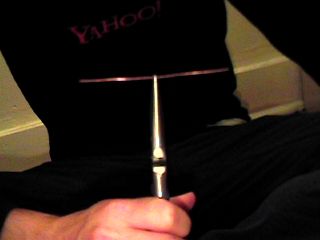
 Step 21: Grab your spool of wire. Straighten a bit of it out to work with.
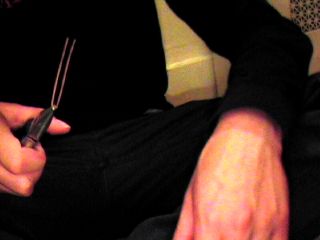
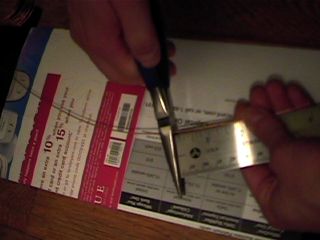 Step 22: Using your ruler and pliers, snip off three pieces of wire each measuring four inches long.
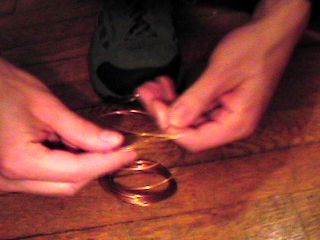
 Step 23: Center a piece of wire in your pliers.
 Step 24: Fold it in half, into a long horseshoe shape.
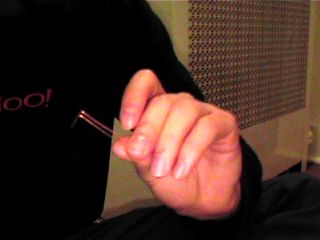 Step 25: Fold the wire at a right angle, half an inch from the pronged end.
 Step 26: Repeat steps 23 through 25 for the other two pieces of wire.
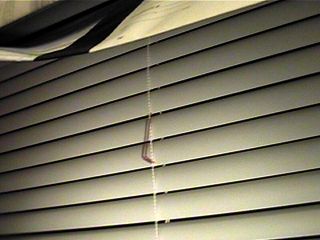
 Step 27: Twist your venetian blinds shut so that the slats are angled down toward you.
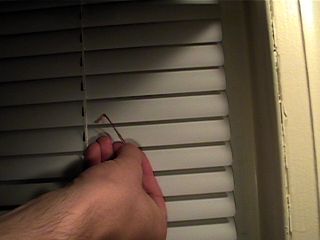
 Step 28: Insert the first of the bent pieces of wire around the first string on the inside of your blinds. We want it to hang so that the prongs are facing inward.
Step 29: Repeat step 28 for the other two pieces of wire.
 Step 30: Bring the blind section over to your window and find the first set of holes in the top of the duct tape.
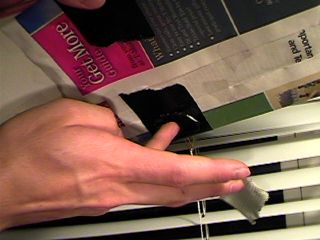
 Step 31: Place the first prong through the first hole.
 Step 32: Place the second prong through the second hole.
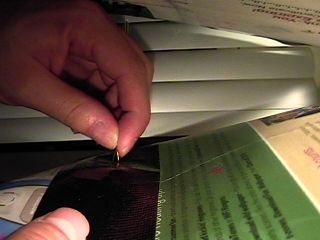
 Step 33: Reach around behind the section and bend the prongs up, flush with the back of it.
 Step 34: Repeat steps 31 through 33 for the other two pieces of wire. The new junk mail blind section is officially hung.
 Step 35: Tear off three small squares of duct tape.
 Step 36: Stick each over one of the exposed sets of prongs on the back. This is to keep the ends of the wire from catching on anything. Squeeze tight.
Step 37: Repeat all numbered steps until the blinds are complete.
Criticisms: I’ve noticed two things, since completing the blinds, which deserve attention. First, the mechanism in the blinds, not being designed to hold this much weight, has begun to squeak a bit. A dab of electric shaver oil or graphite would probably take care of the problem, but I haven’t bothered to try yet. The second concern is a tendency I’ve noticed for the lowermost sections to catch momentarily while nearing the bottom. Why this should be an issue near the bottom but not the top I still don’t know. I’ve found that the problem can be reduced by bending the wire hangers outward on the bottom-most sections, so that the blind section sits farther out from the original slats.
Final Thoughts: It took me about twenty minutes to do a section, once I got all of the experimenting out of the way. I did one or two sections a night, which made for some relaxing non-computer work before bed. (It was kinda nice.) I’m still not totally satisfied with the hanging scheme (bent wire) but I haven’t come up with anything better or easier. All things considered, I’m pretty happy.