Building the Shack, Part 12

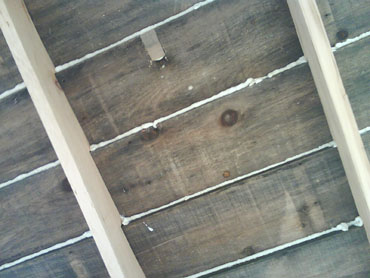
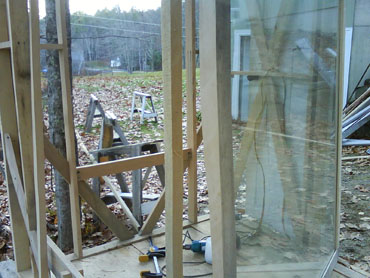
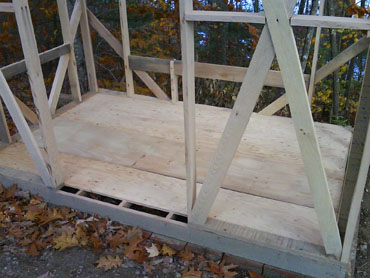
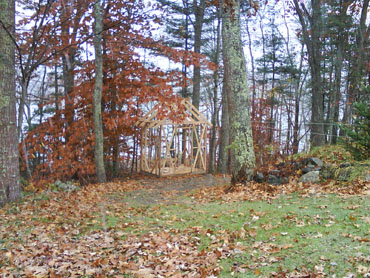
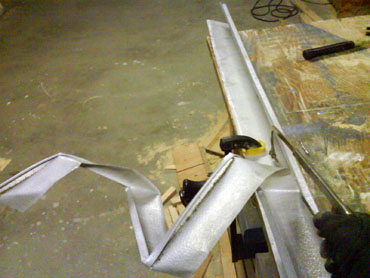
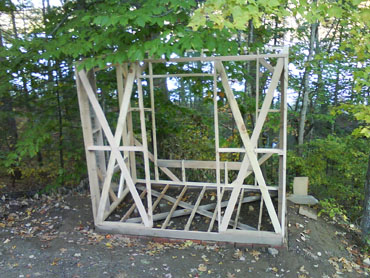
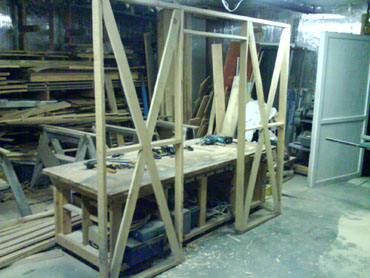
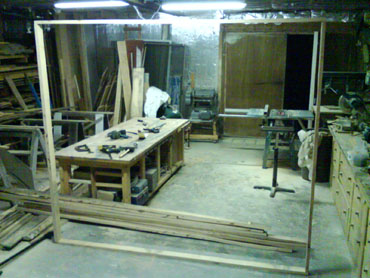
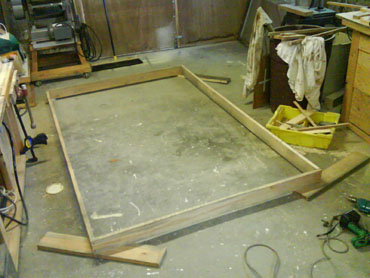
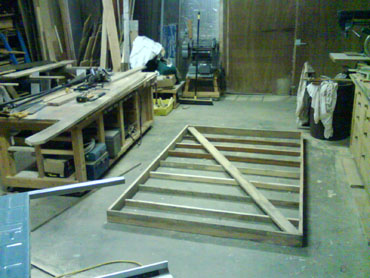
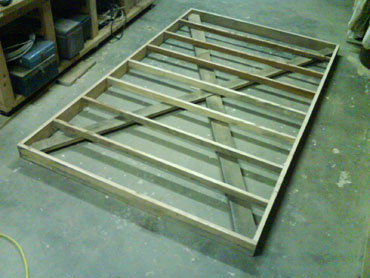
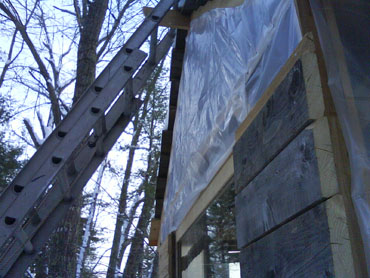
Ended up spending most of the winter on the walls, working on warm days. Started by cutting and stapling sheet plastic over the frame where the walls would go.

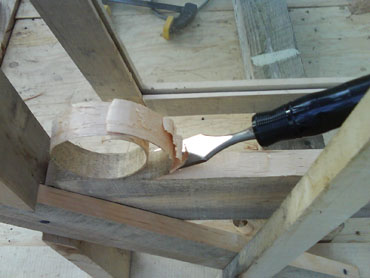
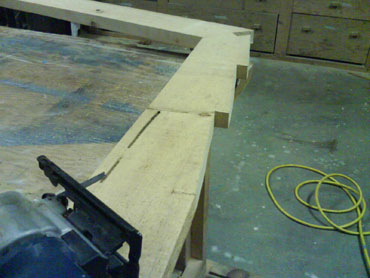
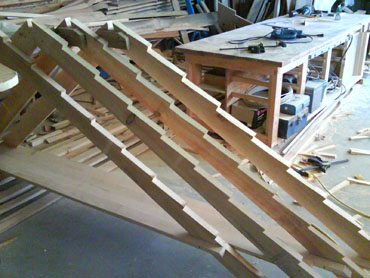
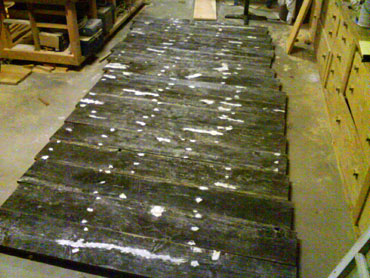
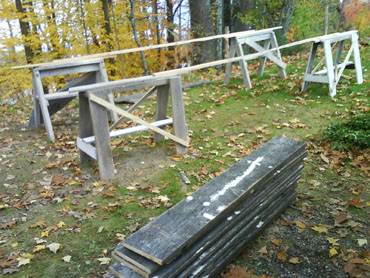
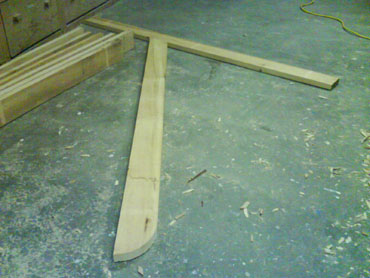
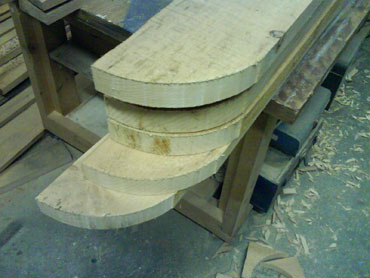
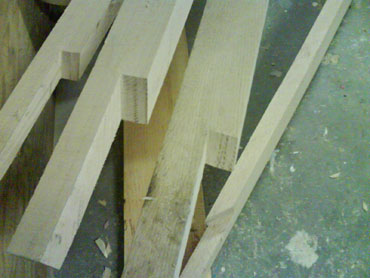
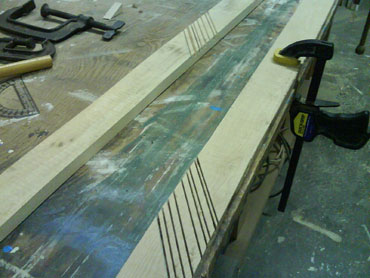
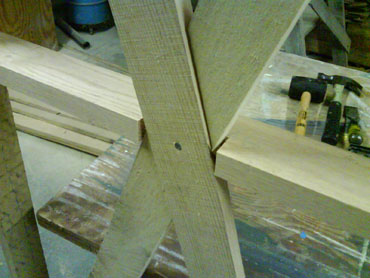
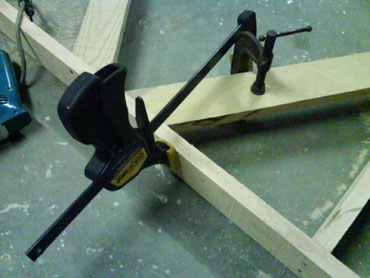
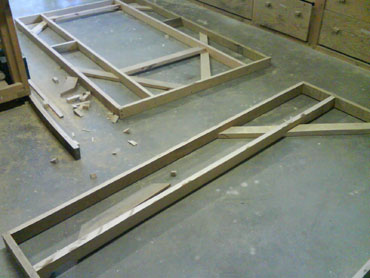
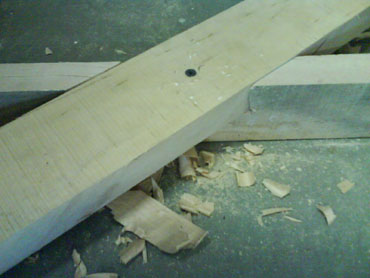
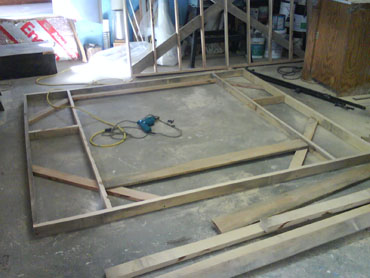
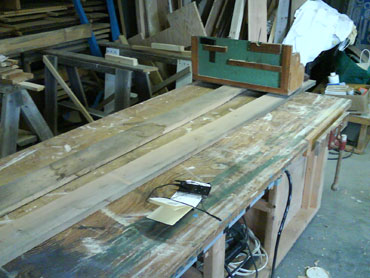
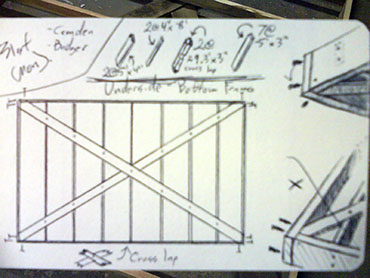
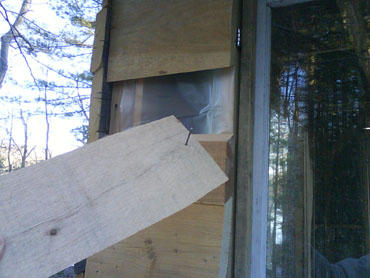
Collected usable scrap lumber from around the property. Angle cut boards on the table saw to 30°. Made perpendicular cuts in the workshop with hand-held circular saw.

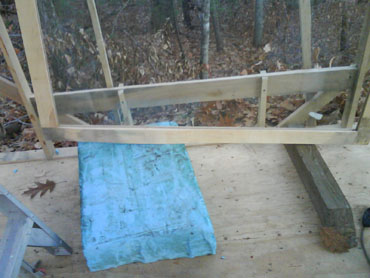
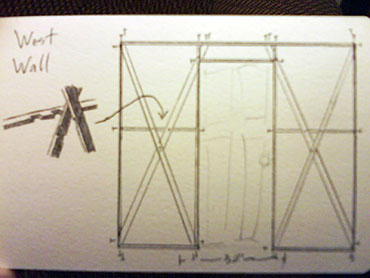
Started on the west wall. Didn’t beat the snow. Got most of the west wall nailed into place standing on saw horses. Finished on the extension ladder.

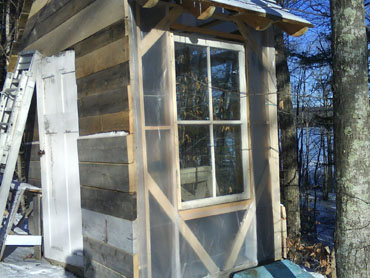
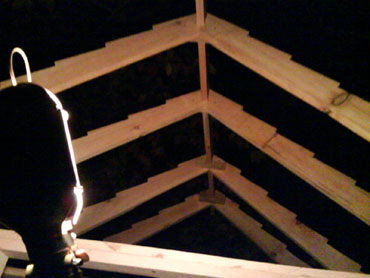
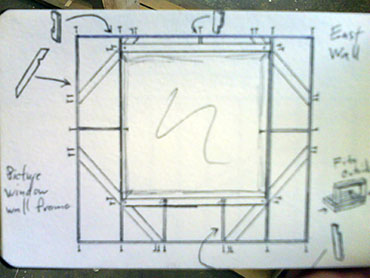
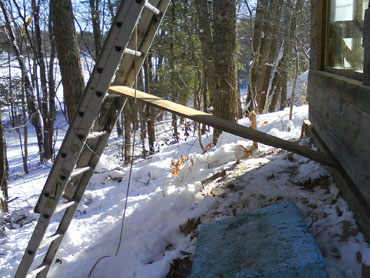
East wall was the most complicated. Hung the entension ladder on the roof peak from the foot of the banking, being careful of the picture window.

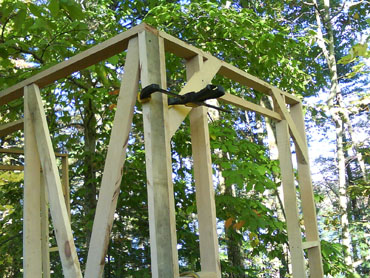
Made a platform with the ladder, to get the board above the window nailed into place. Steadied the ladder by running ratcheting straps out from the side windows, and finished the roof peak late one night in February under freezing drizzle.

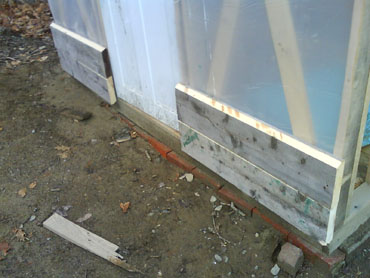
South wall easier. Stood on the block of styrofoam from the picture window installation to get the top board in place. Worked up from the bottom. Recut the final board a few times.

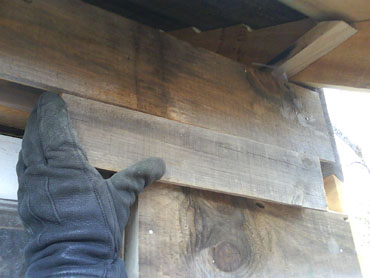
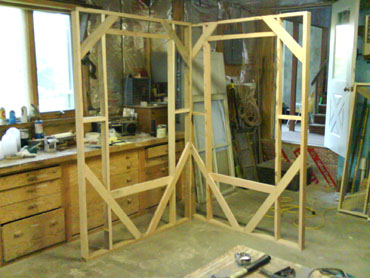
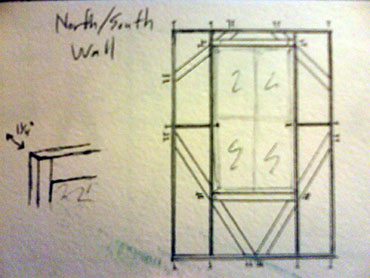
North wall finished last. Cut the final board trapezoidally by hand.

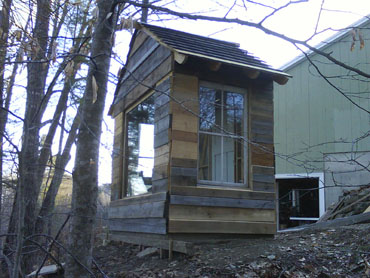
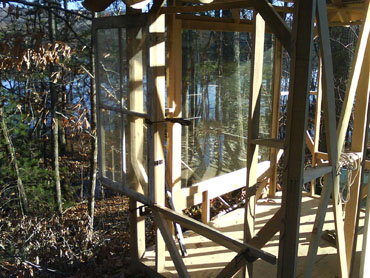
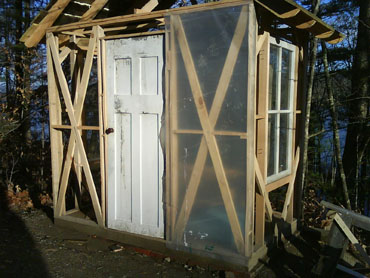
Finished this afternoon, in sunny 45° spring weather.

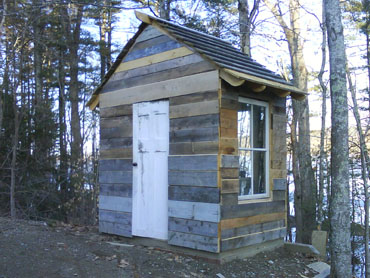
Caulking needed in places, but walls are in place.

Building the Shack, Part 11

Filled the gaps in the roof with expanding foam. Still a few leaks, but mostly sound.

Built a doorframe. Hardware from various junk drawers in the shop.

Door scrounged from the old cottage on the island, along with the two side windows.

Didn’t do the door the correct way with shims. Nailed and screwed small lengths of scrap around edges of doorframe to straighten it.

Considered getting help to move the picture window into place, but found a way to do it alone. Tacked a pair of strips to the outside of the shack, to prevent it from tipping outward.

Not quite enough space to get the window into place. Had to shave the gap down.

Rocked the window into position by stepping it up on levels. Clamped it to frame and pinned it from sides with screws.

Tacked a strip under where I wanted the side windows, after a few false starts. Put the weight of the windows on the strips, and used clamps to keep them from tipping. Measured, screwed the hinges in, and then removed the strips.

Tacked foam tape around the frames of the side windows. Used hardware from one of the old boats at the top and bottom of either as latches. Walls in progress.

Building the Shack, Part 9

Decided to sawtooth the rafters and use overlaid planks for roofing.

Recut the tops of the rafters with a jigsaw.

Put in a temporary floor to work on. Left a gap for the door frame. Had to cover the gap when the chipmunks started getting under the floor.

Tried to pound the ridge into place with a rubber mallet. Found that I’d placed one of the rafters wrong, and had to unscrew and move it. Height of the westernmost rafter about half an inch too short. Not going to worry about it.

Hard to tell from the picture, but the first snow of the season came, and I don’t have the roof on. Will need to hurry it up.

Building the Shack, Part 10

Scrounged some old planks for the roof. Condition was poorer than I expected. Cut boards to size. Filled gouges, nail holes and cracks with wood filler.

Duct-taped vinyl gloves to my sleeves and painted roof planks with Coppercoat wood preservative. Smell didn’t dissipate for weeks.

Hammered all but the topmost planks into place on a stepladder. Height difference of the westernmost rafter causing problems. Should be able to solve it later with trim.

Cross-braced the rafters to make sure the roof would support my weight. Strapped an extension ladder to the frame of the shack to get access to the roof — wanted the frame to be holding my weight, not the ground at the base of the ladder.

Nailed final sections of roofing in.

Offered to haul off some aluminum rain gutters my friends had been meaning to take to the dump. Hacksawed and hammered a roof peak out of one. Pounded nail holes in the workshop. Covered nail holes on the underside with Gorilla Tape as an additional water stop. Nailed roof peak into place.

Building the Shack, Part 7

Scrounged some bricks and began trying to level the ground. Laid stakes at a desired level.

Big rock on the spot I selected. Started digging it out. Planned to get under it and tip it flat, then fill around it again.

Rock turned out to be bigger than expected. Afternoon was disappearing.

Found the “bottom” about 3 feet down.

Tried to tilt it with a plank. Wouldn’t budge. Kept digging out around it and retrying. Realized I’d only uncovered the narrow end of a long, flat boulder. Gave up and filled the hole back in.

Decided to bring the floor frame itself in and see how low it could sit on top of the boulder’s edge.

Repacked the dirt as much as possible.

Worked out the lowest point the floor could sit. Levelled the floor frame using the ledge as a fulcrum.

Set four sets of four bricks crossways to act as feet for a plank on the banking (east) side.

Levelled and packed the dirt, and laid a line of bricks under the west side.

Drove additional stakes to keep the east plank and bricks in place. Cut a second plank to fit north and south sides. Dug and set them in place.

Secured the floor to the planks with 3″ screws, toenailed in alternating directions. Partially filled the inside with dirt.

Building the Shack, Part 8

Walls went up today.

Clamped a strip of wood to a floor joist. Lifted the west wall into place, levelled it, and clamped it to the strip. Screwed the wall into the floor frame.

Lifted the north wall into place. Secured it to the west wall and floor. Removed strip and clamps from the west wall.

Repeat for the south wall.

Managed not to fall down the banking hauling the east wall into place. Attached it to the other walls and floor.

Roof next, if I can find the materials.

Building the Shack, Part 6

Framed the rafters and cut a ridge beam.

Still figuring out roofs. Went through a lot of revisions.

Used rise over run rather than angles as much as possible. Some bad math early on.

Pine a pleasure to cut on the tablesaw after all that rock-hard oak.

Rounded rafter ends a motif from early on in designs. Mirrored it with the ridge beam.

Might drill a hole and hang a lamp/planter/bird feeder off east and west ends of the beam.

Need to level the ground and lay a brick slab next. This is moving outside the workshop. Quixotic.

Building the Shack, Part 5

Framed the west wall.

Nailed a strip of scrap into the gap at the foot of the door to maintain dimensions while working.

More cross laps. Picturing the shack something like a three-walled card house, with the east (picture window) wall bearing less of the load of the roof than the other three.

House painters walked off with a roll of tar paper I was planning on using for the roof, so back to the drawing board there.

Rafters next.

Building the Shack, Part 4

North and south walls will be indentical, so I’ve framed them together.

Dad had this 12″ adjustable T-square with a 45 degree edge and a bubble level. Best tool ever made.

Windows will be on permanent hinges. Think it’s best not to set them until the walls are assembled and the roof is on, to make sure the openings have squeezed into their final shape.

Getting the hang of some cross bracing tricks. Getting less picky on others. This is probably progress.

Had to deepen notches on one set of cross-braces after nailing the pieces into the frame. Slow.

Going through a lot of podcasts working down in the shop. Generally better than being being alone with my thoughts. “News Quiz” is back on BBC 4. Ace.

Still studying roofs. May be able to scrounge some old metal roofing, but will have to figure out a way to cut it.

West wall next.

Building the Shack, Part 3

Framed the east wall.

Mediocre joints. Still working too slowly and carefully.

Still haven’t decided how to put the roof together.

Using nails here and there, when there shouldn’t be sundering pressure. Having to pre-drill oak even to put nails in.

Building the Shack, Part 2

Replaced the frame of the picture window.

Removed the old goop and gave the window a preliminary wash. Cut a 1/2″ x 1 & 3/4″ channel into the new frame edges on the table saw, then removed the excess with a chisel.

Still need to improve at making joints, but started to get the hang of using a combination of bandsaw and hand saw to cut the corner bridles.

Used Silicon II to seal the glass into the channels. Fixed the corners together with screws.

Framing east wall next.

Building the Shack, Part 1

Finished framing the floor tonight.

Old boards Dad sawed on the bandsaw mill unreliable — variable thickness, width and straightness. A lot of it’s warped.

Getting better at using long clamps. Trying to use screws as much as possible.

Will have to get better at cross laps and joints — plan to use a lot to add stability. Need to get better at marking pieces too; wasted a lot of time with a backwards cross brace tonight.

Frame came out diamond-shaped by about an inch. Seems sturdy though.

May box in and seal picture window. Corner of the frame rotted, but building a new one seems beyond my skills. East wall next.